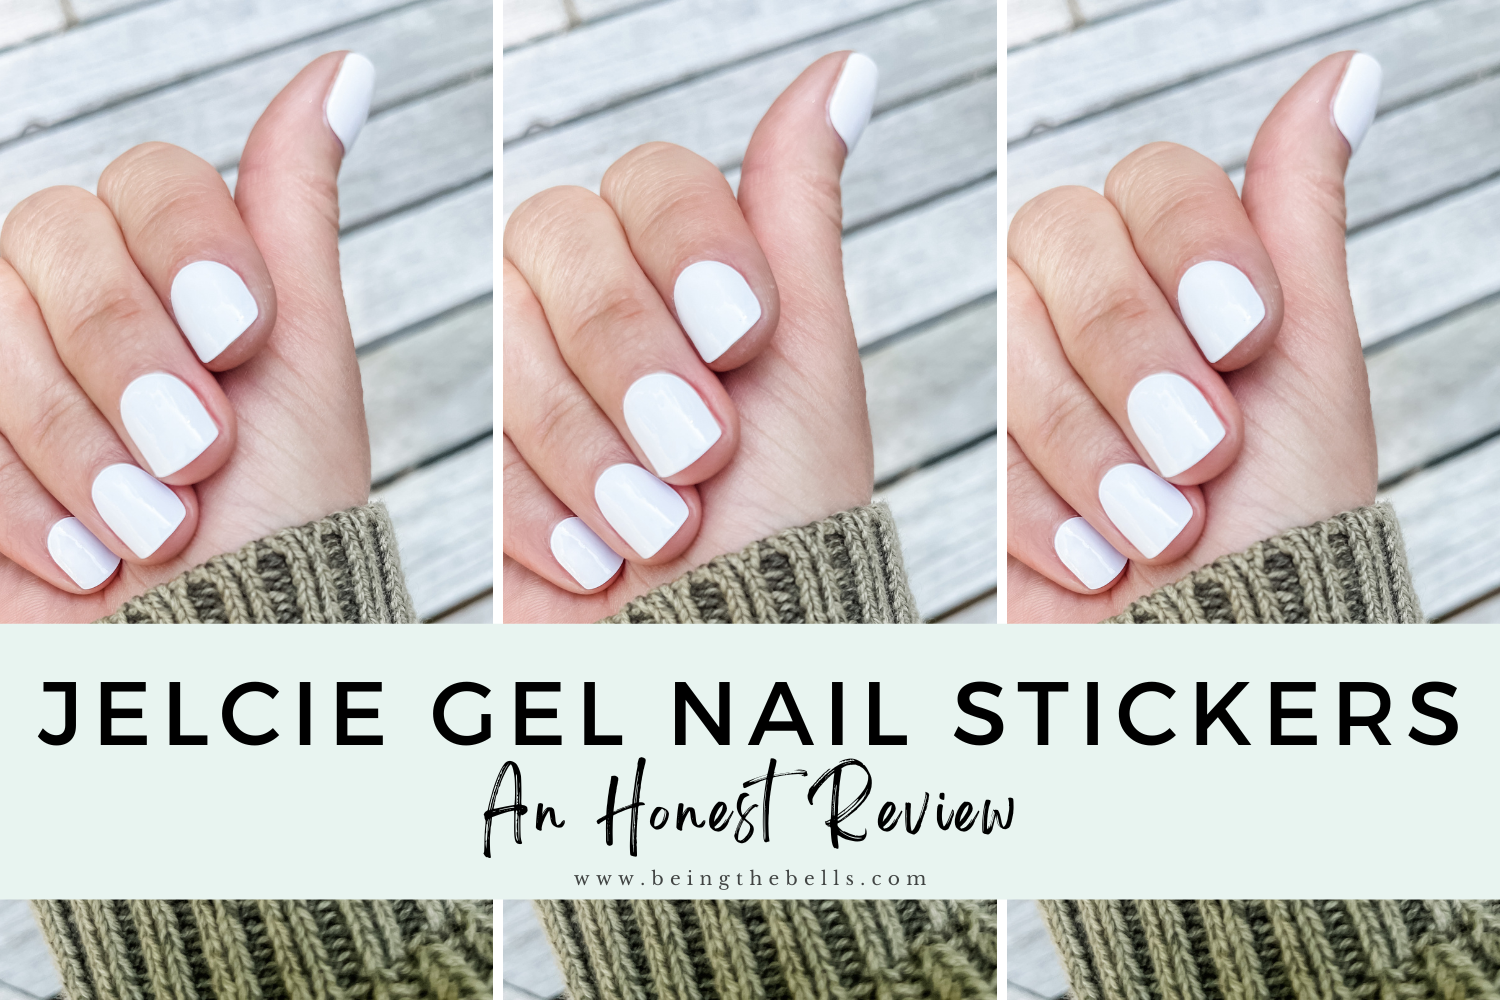
This post is all about Jelcie Curable Nail Stickers!

This post may contain affiliate links, which means I’ll receive a commission if you purchase through my link, at no extra cost to you. Please read full disclosure here.
What are Jelcie Gel Nail Stickers?
Well, according to the jelcie.com website, Jelcie Curable Nail Stickers are “…a completely new type of gel nails. They’re a semi-cured UV gel manicure that are just like the gel nails you would get at the nail salon but for a third of the cost. Made of real liquid gel, our gellies comes partially or 60% cured, and hardens and cures to 100% under a UV lamp like salon quality gel nails. There’s no dry time, and they’re designed to flex to all nail shapes and sizes.”
So basically, these stickers replicate what you get at the salon with several coats of gel polish. The stickers are applied and then cured under UV light- just like at the salon.
My Nail Background
I am someone who really likes having manicured nails. I always have. So for the past (many) years I got my nails done every two weeks or so at the salon. I got a combination of gel polish and SNS dip powder, depending on my mood, the color I wanted, etc. I never use artificial tips, just my real nail with gel or SNS on top.
I liked the look of gel polish better, but I didn’t like how easily they peeled after a week or so. I also didn’t like how the polish near my cuticle would start to catch on my hair after a few days. This totally drove me crazy.
SNS lasted a bit longer, but I hated how they always felt kind of thick, no matter how thin it was applied. Plus soaking them off sucked, and my nails got really thin and fragile because of the removal process.
Trying Jelcie, and How To
The first time I tried Jelcie, I honestly wasn’t expecting much. I had tried other stickers before, but they weren’t the kind that you cured under a light. They only lasted about five minutes- seriously. So I was expecting more of the same.
Step by step, here is exactly how to apply…
1. Wash and dry nails, then clean with an ALCOHOL WIPE to get off any oils.
2. Apply stickers to your nail. The amazing thing about Jelcie stickers is that they’re stretchy. They’re this cool gel texture, and they stretch in both width and length, so you can make them fit any size nail.
3. Trim the end to be about the same length of your nail, and press down firmly all over. I also take an orange stick (like THESE) and press all around the edges to make sure the sticker is super secure near my cuticle.
4. Cure under a UV light. I originally ordered the little UV light from Jelcie, but honestly, I didn’t love it. It’s super cute, and it would totally work for travel. However, it’s so tiny that I had to cure my thumbs separately from my fingers, and that was a pain. So I grabbed THIS ONE from Amazon and it’s perfect! I cure two times for 99 seconds.
5. File the ends to be the length and shape you like. I grabbed THESE FILES and they are super strong- I love them!
6. Apply one of the Jelcie Top Coats. I like the Glaze Clear Gel best! Then cure under the light again. And you’re done!!
Grab Your Supplies
First Impressions and How to Remove
After the first application, I could not believe how great they looked. They didn’t feel thick at all. On the flip side, they weren’t thin either. I was afraid of them being flimsy (mostly because my natural nails are super thin and weak) but they hardened to a rock solid finish.
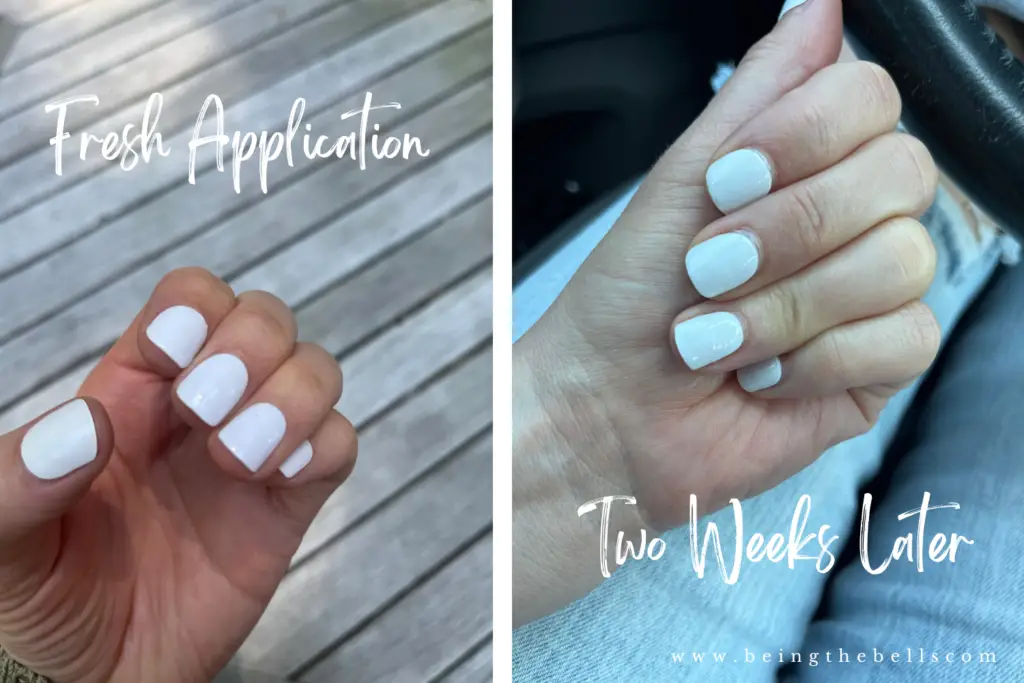
They lasted a full 17 days, and honestly could have lasted longer but they were growing out and I was ready to try a new color!
When I was ready to remove them, all I did was rub oil all over my nails and peel them off with an orange stick. (I used my trusty JOJOBA OIL, but you can use any oil you have.) There was no damage to my nails at all. Jelcie has this amazing REMOVER that I really love, but you can totally do without.
My Review of Jelcie
The final verdict is that I am totally obsessed. There are a few very minor things that I think could be better, but honestly- no real complaints!
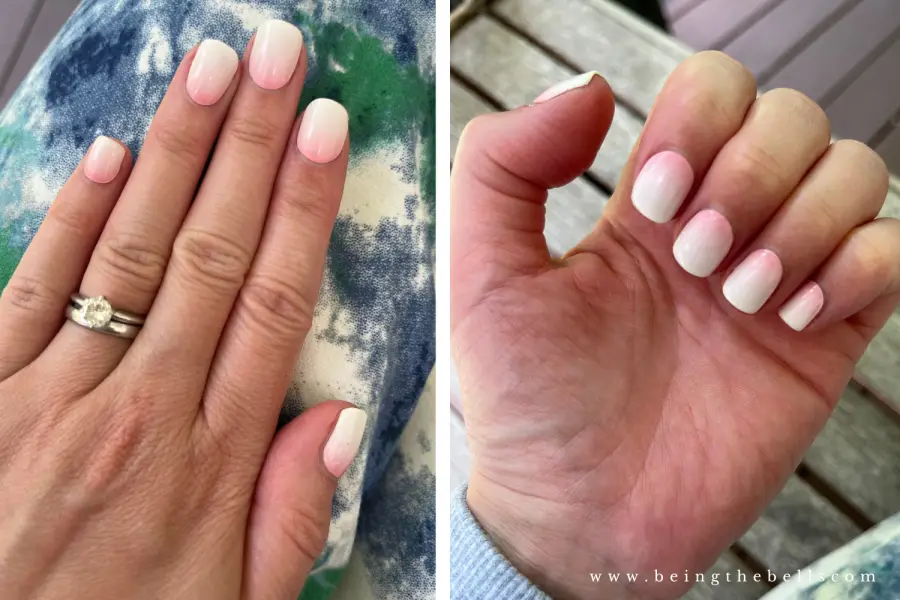
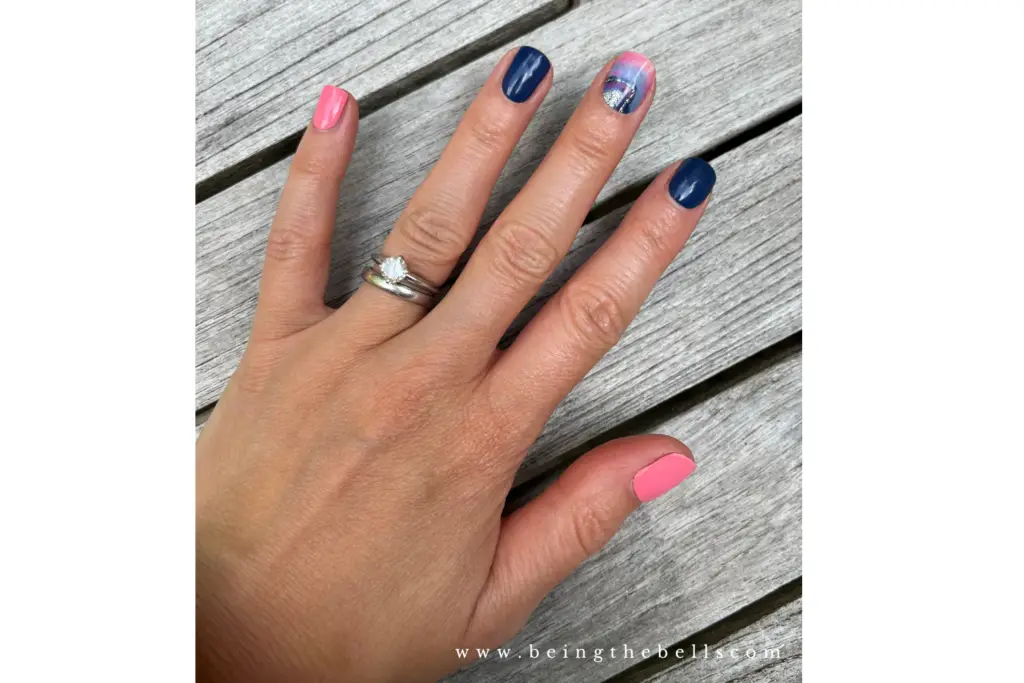
- I LOVE the way they look and feel. And the color selection is really great. There are cute designs, but I’m usually a solid color girl, and there are tons to choose from.
- They seriously last such a long time. By the time two weeks has passed, I’m ready for a change in color, but I’m not removing them because I have to.
- After about a week, I reapply the top coat and cure under the light again. This keeps it looking fresh and helps seal the edges so they stay nice and secure.
Where to buy JELCIE
You can purchase Jelcie Gel Nail Stickers directly from their website HERE! They have so many cute colors and designs, plus collaborations with different designers. I can’t wait to hear what you think about them!
BUY JELCIE NAIL STICKERS HERE!


